(This post contains affiliate links. You can read my full disclosure here.)
Our skin is the body’s largest organ. It provides a thin, yet very effective, the barrier to billions of health threats (called pathogens) found in the world. If you don’t take care of your skin on a daily basis, it may become dry, rough and chapped, providing an opening for pathogens that could harm your health. Healthy skin means it should be healthy from inside as well as from outside i.e free from acne, ingrown hairs, blemishes and you can achieve flawless skin with DIY ingrown hair cream.
DIY ingrown hair cream not only treats those hateful ingrown hair bumps but also helps in getting rid of small red pimples and blemishes as it contains nature’s blessing. Before going into the DIY ingrown hair cream, let’s take a look at what is exactly an ingrown hair.
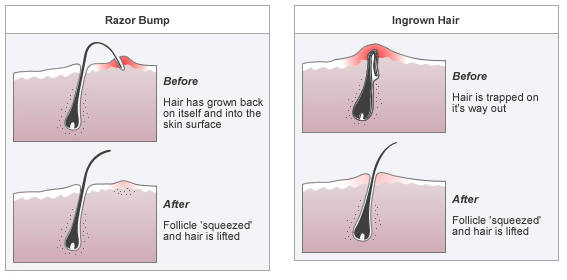
What are ingrown hairs?
Ingrown hair is a condition where hair curls back or grow sideways into the skin. The condition is most prevalent among people who have coarse or curly hair. It may or may not be accompanied by an infection. While ingrown hair most commonly appears in areas where the skin is shaved or waxed. An ingrown hair produces a raised, red bump (or group of bumps) that looks like a little pimple. Sometimes it can form a painful, boil-like sore. It can be itchy and uncomfortable, especially if you’ve got a lot of them. You may notice pus inside the bumps.
Causes of ingrown hairs can be having naturally coarse or curly hair, wearing clothing that is too tight, tugging at the skin with the razor. shaving or waxing in the wrong direction and not exfoliating regularly after hair removal.
Benefits of DIY Ingrown Hair Cream
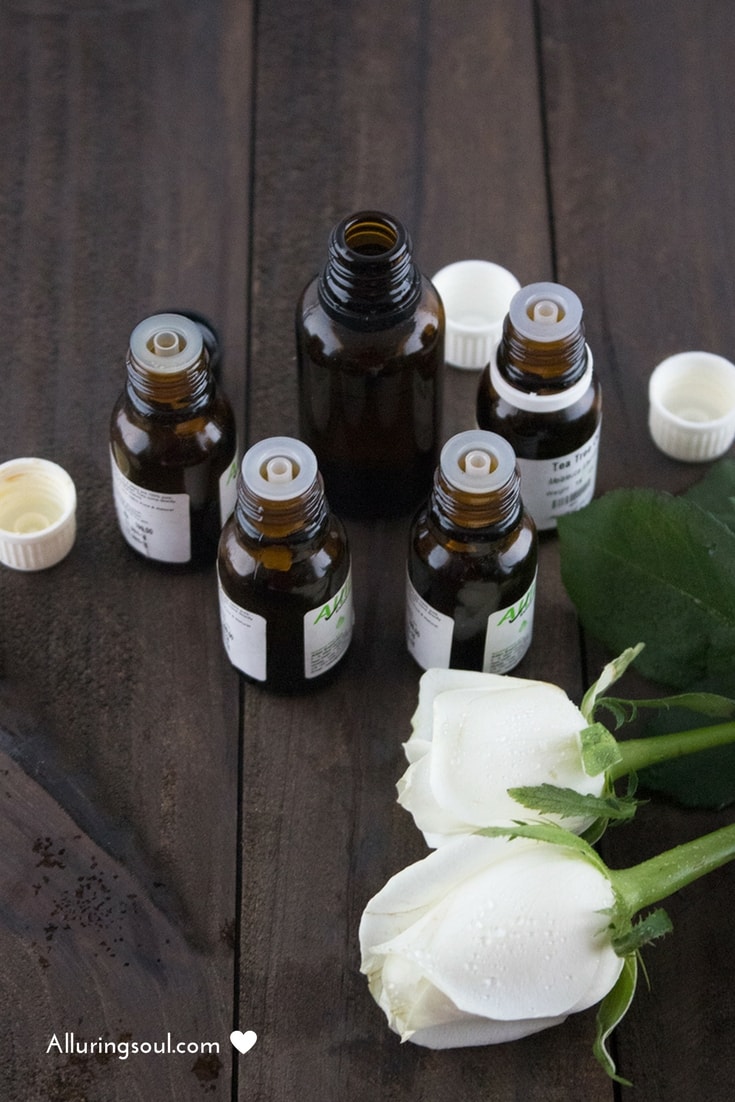
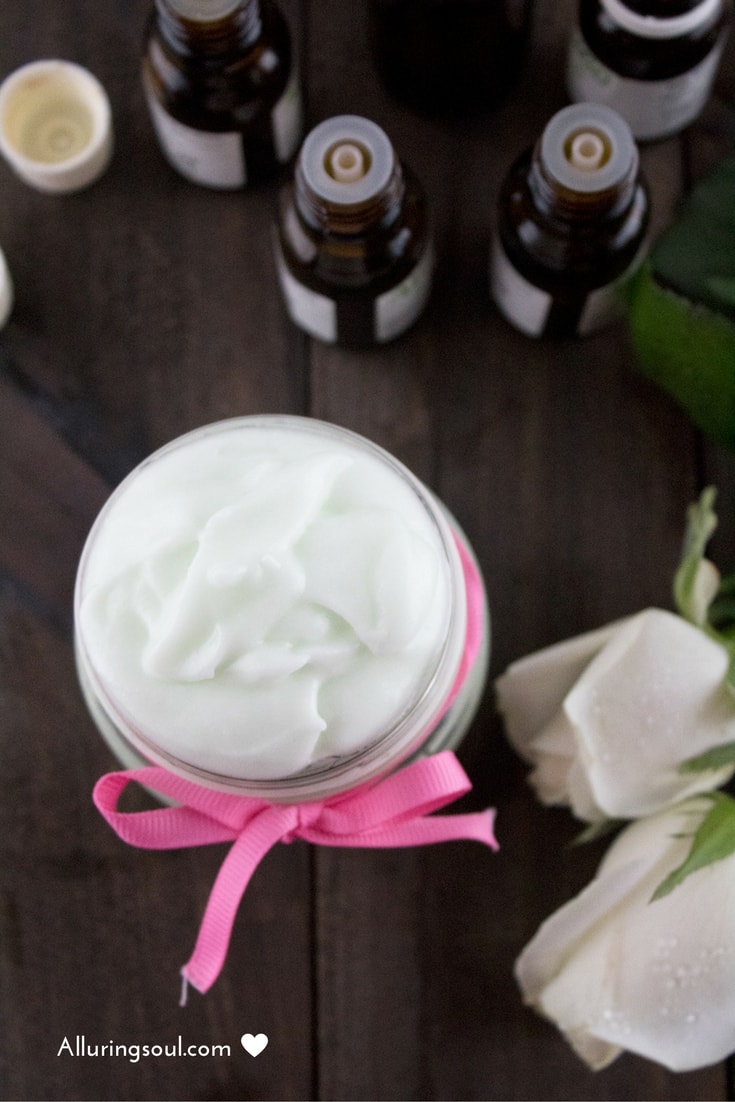
This cream is made up with natural ingredients like coconut oil, essential oils and aloe vera gel. The benefits of these ingredients are-
- Why does this work so well? Because of the cleansing benefits of the oils. Oils are naturally attracted to other oils, so the gunk and pus build-up under your skin will be drawn out and removed just by using other oils.
- Tea tree essential oil is perhaps the best essential oil for ingrown hairs. Due to its high terpene alcohol content, tea tree essential oil has powerful antibacterial, antiseptic and anti-inflammatory properties that help heal the skin and also prevent infection.
- The lavender oil has a soothing, calming effect on the skin. It is enough to cure the anxiety of ingrown hairs because lavender oil has anti-anxiety properties.
- German chamomile oil has carminative, antispasmodic, mild sedative, anti-fungal, anti-inflammatory, antiseptic properties. This beneficial essential oil penetrates deep into the layers of your skin where its potent anti-inflammatory action can restore and soothe irritated skin and other skin conditions. The inflammation and redness vanish, plus it will make a scar-free skin.
- Coconut oil is a gentle, yet thorough cleanser. It softens the keratin caps and makes exfoliation much easier. The light, spreading texture of coconut oil enables it to seep into the hair follicles and dissolve the hardened sebum, bringing it up to the skin surface.
- Lemongrass essential oil is used for getting rid of cellulite, toning oily skin, as well as opening, blocked pores and ingrown hairs. It will keep an ingrown hair away from infection and be turned into a boil.
- Aloe vera is a well-known fact that it is a potent herb. The Aloe Vera extracts are full of goodness and can be used to treat minor skin infections and burns, including ingrown hair infection.
Procedure for DIY Ingrown Hair Cream
Ingredients
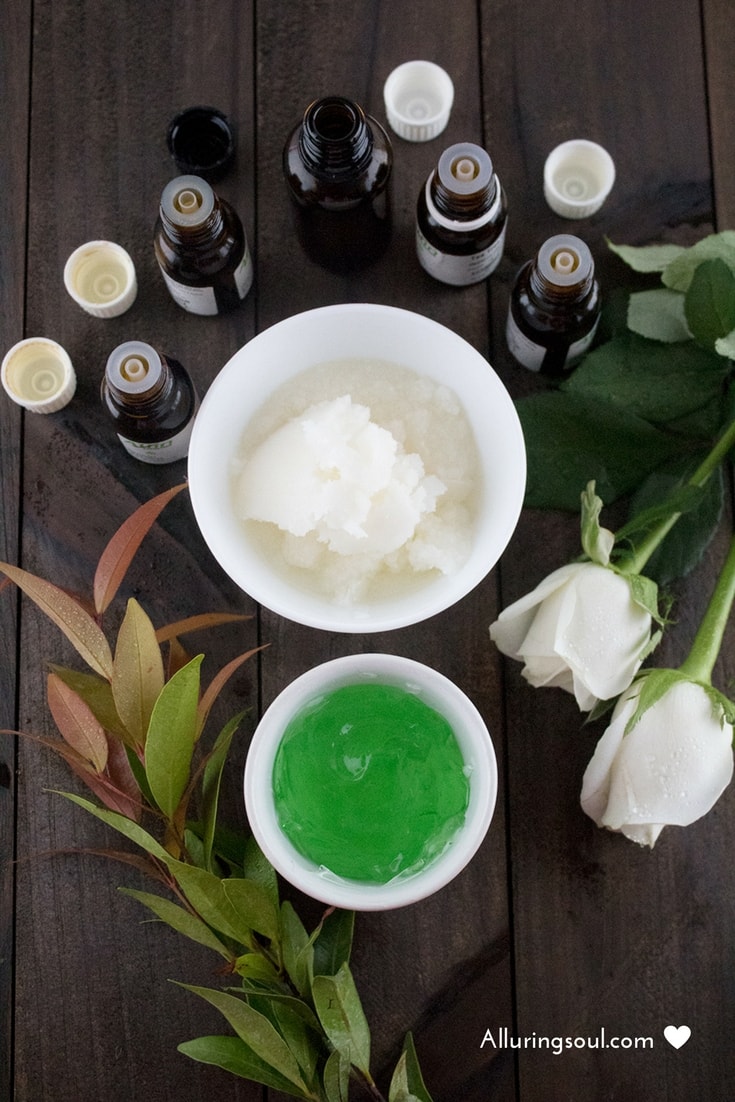
- 3 tablespoon of Coconut oil (Buy From Here)
- 2 tablespoon of Aloe Vera gel (Buy From Here)
- 10 drops of Tea tree essential oil (Buy From Here)
- 7 drops of German chamomile essential oil (Buy From Here)
- 20 drops of Lavender oil (Buy From Here)
- 5 drops of Lemongrass essential oil (Buy From Here)
Steps
- Put coconut oil in a small pot or double boiler. Gently melt and stir over medium-low heat until the mixture is partially liquid. Remove from the heat and allow the mixture to partially set up.
- Now add aloe vera gel and all essential oils into it and mix properly and then keep it for 5-10 minutes in a refrigerator.
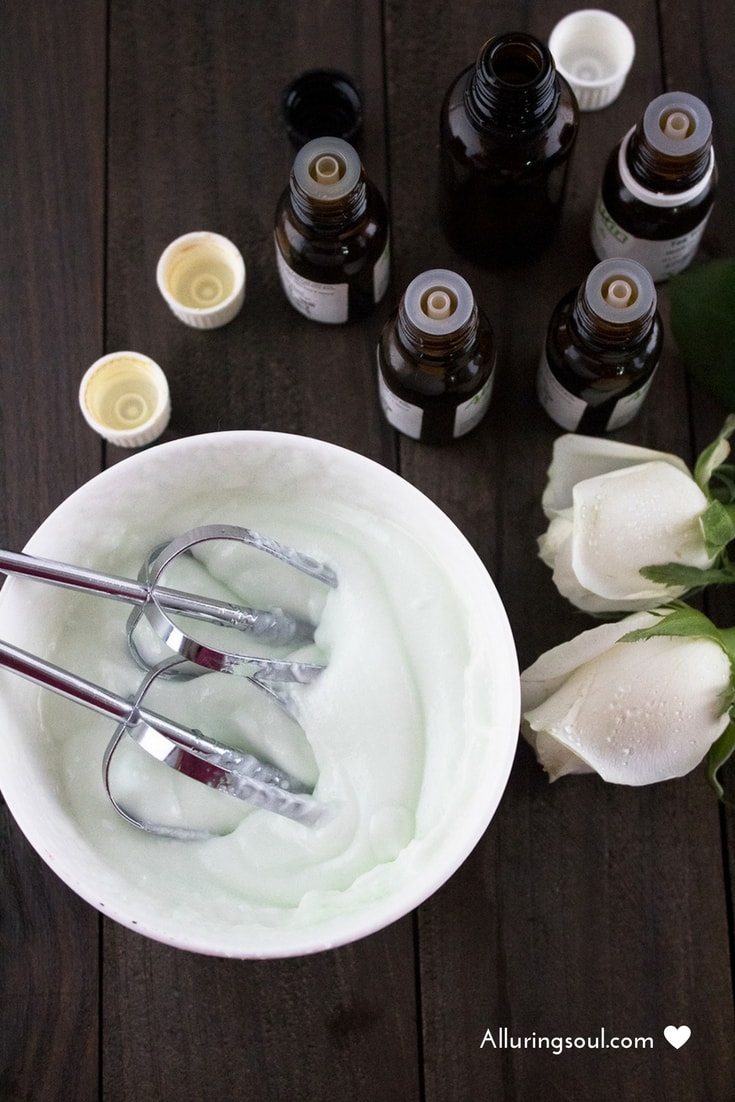
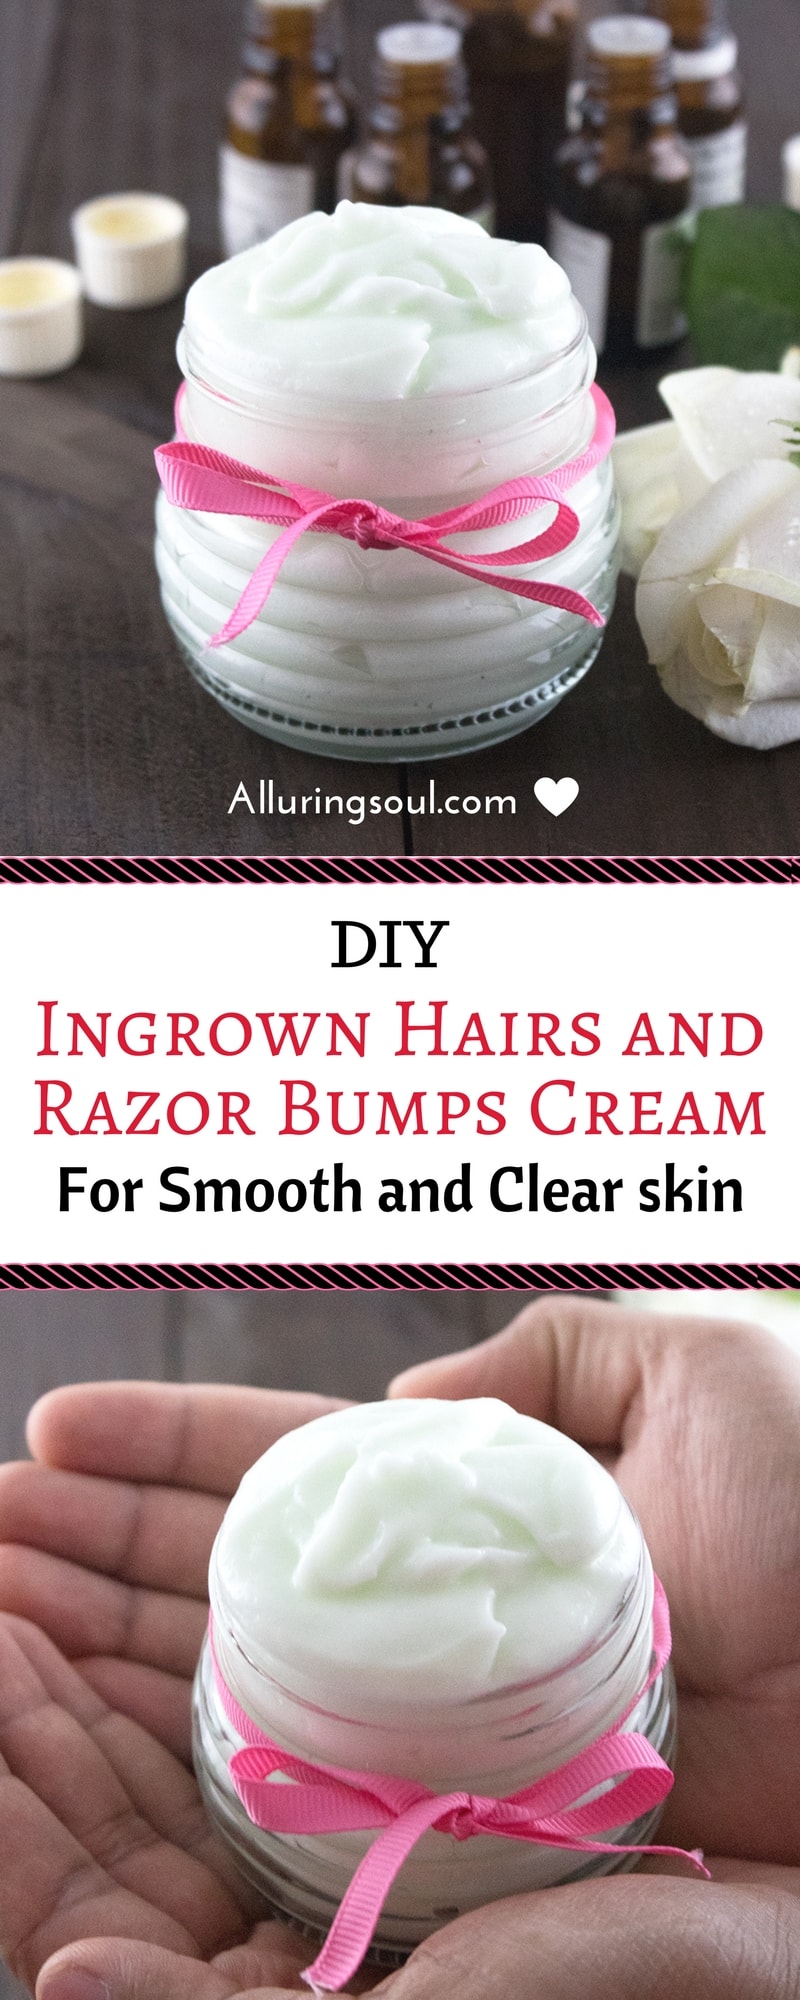
- Take out the bowl containing oil and whip with a hand mixer or stand mixer until the oil converts into fluffy and smooth. I’ve found it’s ready to whip when I can stick my finger in the middle and it will hold the indentation.
- Store it in a glass container for about 15-20 days and keep it at room temperature.
- Your whipped DIY ingrown hair cream should stay relatively soft, even at colder temperatures. If it’s really cold, it will become a little more solid, but not rock hard like it normally does. However, if your house is very warm, it may melt. But if this happens, you can simply put the container in the fridge for 3-5 minutes and you will get cream in semi-liquid form.
How to apply
- After shaving or waxing, make sure the area is completely clean and dry, then apply a layer of DIY ingrown hair cream.
- Apply the cream twice a day on cleansed skin.
- Exfoliate the area after every alternate 1-2 day.
(Check rose sugar scrub for exfoliation.)
Precautions
- Before you shave (assuming your skin is not irritated), make sure you soak in warm water or let your skin absorb the hot steam from the shower for at least three minutes.
- Apply a protective shave gel rather than a cream as creams can clog your pores.
- Make sure you’re using a clean, sharp razor (a new one if it’s disposable), shave in the direction of the hair growth, and do not pull the skin tight to try to get a closer shave (yep, this can cause ingrown hairs).
Notes
- Be sure to do a patch test to make sure your skin does not have an adverse reaction to the oils. The inner forearm is a great place to do a test since the skin is delicate, similar to facial skin.
- Additionally, pregnant women, infants, and young children should avoid certain essential oils. so be sure to do your homework beforehand.
- Keep the glass container away from light.


No comments:
Post a Comment